today’s mason jar sunday is SO special!! i came across these lovelies on pinterest last week and couldn’t wait to showcase them on the blog.
without further ado, i give you - mason jar snow scene jar “how-to” from rhonna farrer!
Supplies:
Mason Jars & lids (varying sizes)
Spray paint (I chose a light aqua)
Fake snow & glitter
Little treasures to fill the jars (here, I’ve got bottle brush trees , silver trees & reindeer)
House of 3 Christmas messages printed & cut out
 Steps:
1. Gather supplies. Spray paint the lids & tops of your bottles.
2. Fill jar with just a bit of snow & glitter. (on some bottles I even sprayed adhesive inside & then shook glitter inside for a little shimmer. *photos didn’t turn out*)
Check out this link on adding water/glycerin too!
3. Right ON the jar lid, hot glue your treasures. *TIP* Add clear pebbles to make your reindeer and trees to stand tall above the snow.
4. After you’ve got your little treasures glued onto the lid, put the lid together & turn upside down….& screw the lid on. Turn back upside down, shake the snow & glitter around & you’ve got your snowscape! Ideas:
You can add anything inside! Here, I’ve printed out House of 3 tags & hung it from the top of the jar so it is hanging above the little white bottle brush trees!
 This one is filled with a white bird & silver tinsel trees…along with a vintage text flower & leaves i glued on wire so it would stand up behind the bird…it’s perched!
 Line up your snow scene jars to create a little winter wonderland. I doubled some of the jars to add varying height.
thank you rhonna for your lovely tips!
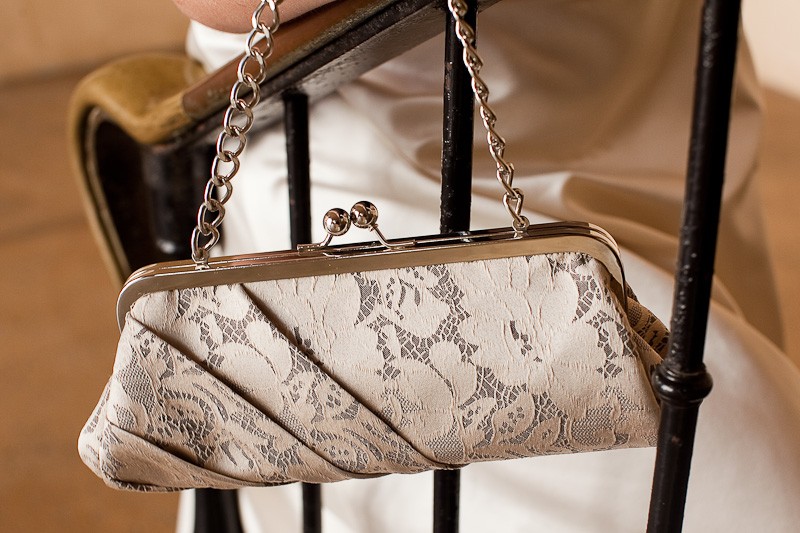
oh, and see the pretty clutch below? it could be yours! enter the giveaway today!












{ 17 comments… read them below or add one }
so crazy- this is my main theme for decorating this christmas! i can't wait to make them this week. i think they are adorable, and i love the aqua you chose for the lid!
Oh I love it! I might have to try this!
this is TOO precious!!! i love it!
this is TOO precious!!! i love it!
this is TOO precious!!! i love it!
this is TOO precious!!! i love it!
this is TOO precious!!! i love it!
this is TOO precious!!! i love it!
Those are adorable! And they would be so fun to do with kids!!
These are so pretty!
Love this!
these are so awesome! I love all of your lovely finds :-) Happy Thanksgiving and bring on the snow!
I LOVE this! So much. Such a cute idea!
oh so perfect - I was looking for something like this to add to some pine cone trees I've already made. Thanks for posting!!!
eek!! i must try these!!
So pretty…I really enjoyed this post!
These are so cute! And if you need more blogs to follow you can follow mine!