header
blog


{all images taken with my iphone}

today’s DIY is pretty much the easiest thing ever. i’ve seen this idea on pinterest i think, but i decided i wanted to try it myself!

materials
literally all you need for this project is a clean, dry mason jar (any size will do), a can of metallic gold spray paint, plastic gloves, and some newspaper or cardboard to protect the surface you’re spraying on. oh, and please, please, please don’t commit a cardinal sin by spray painting your blue masons - get clear ones, ok?


{images filtered using instagram - i’m “lovelydetails” if you want to follow along}

instructions
flip your masons upside down and get spraying! move quickly though, because the paint can tend to drip, and that’s not what you want. if too much collects in one spot, just give it a wipe with a paper towel and re-spray that area to keep it all nice and even.

the jars dry quickly (depending on where you live and whether it’s humid out), but give them time before you pick them up to use them. if you need, add a second layer of paint but you should be all good with just one round. these gold masons made the perfect vases for last weekend’s wedding, but you could really use them for anything. i did see them with straws in them at one point in the blogosphere, but i don’t know if i’d recommend drinking from them after they’ve been painted - that’s just a thought though!

have fun!


{all images taken with my personal camera or iPhone}

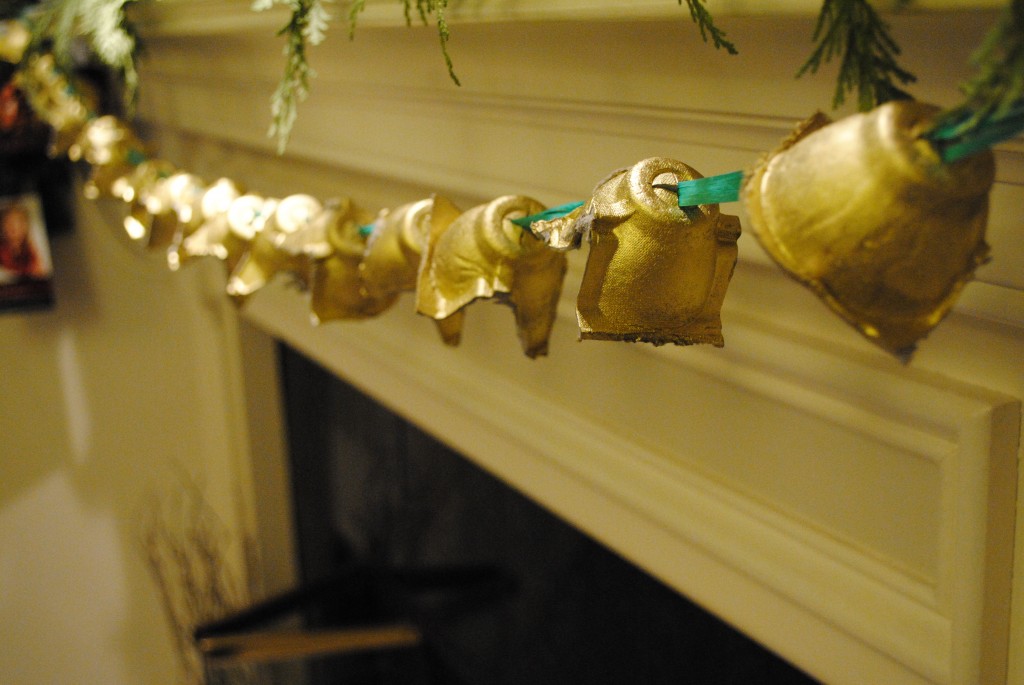
No joke I have been telling Pat not to throw away our empty egg cartons for the past 2 months. But he knows now not to ask “why” anymore, haha :). I’ve had this idea in my head for a while and finally gave it a whirl last night, and I’m perfectly OK with how it came out slightly imperfect.

Here’s what you need:
Empty egg cartons
Gold spray paint
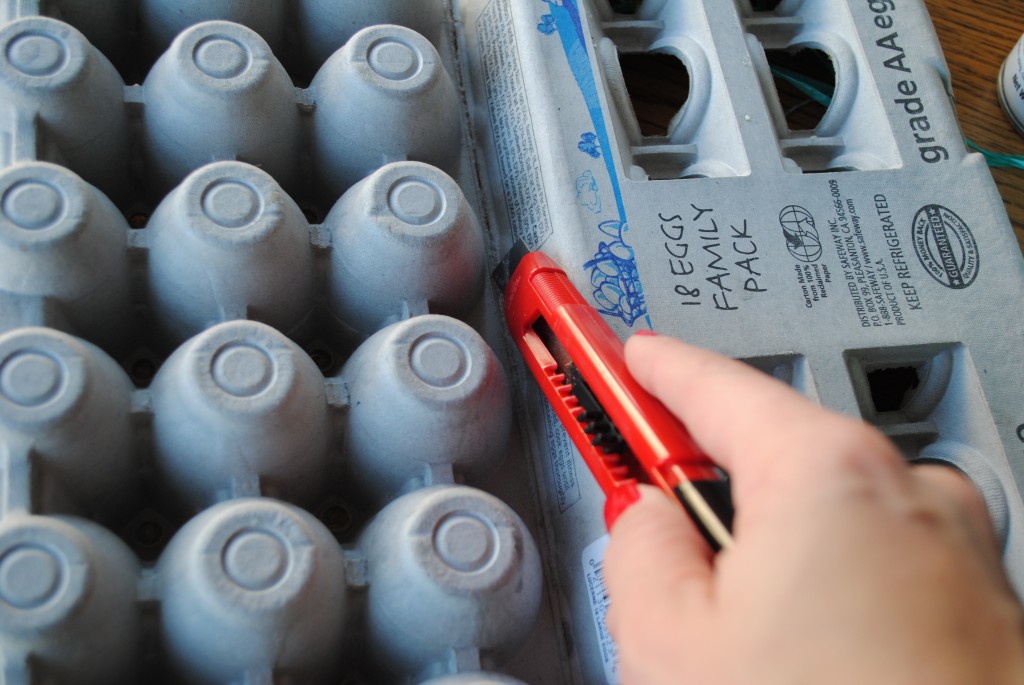
Box cutter or Xacto knife
Pretty string - I chose a teal multi-tie raffia from World Market  because I thought it would really make the gold pop
Plastic gloves*

Instructions:
1.  Cut the egg-holder side off of the egg carton and discard the other half.

2. Spray paint both sides of the egg cartons using your color of choice. I used an old wine box to prop the cartons while each side dried.

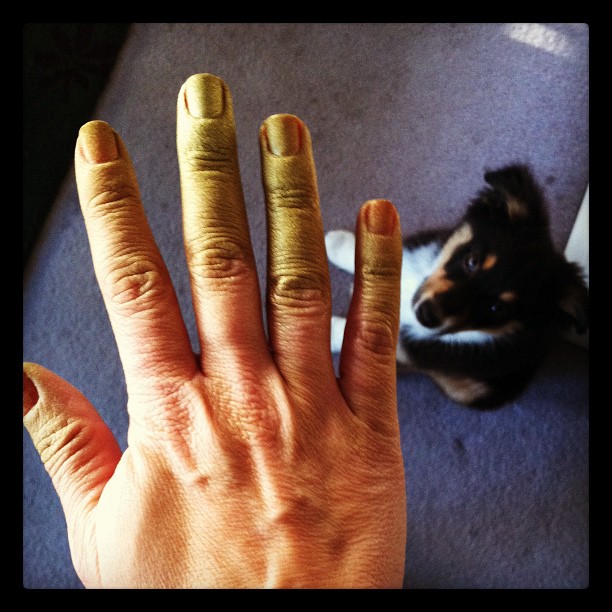
*You will note that plastic gloves are listed on the materials list, however they are not pictured. See below for why you might want to consider wearing gloves. You will also note that Rhody is judging me from below.


{taken with instagram - care to follow? my username is “lovelydetails“}

3. Once dry, use your box cutter to cut out each “bell”.

4. Create a loop on the bottom of your string for easy hanging. Cut the string to your desired length and tie a tiny knot at the opposite end to make it easier to get through the bottom of each “bell”.

5. Cut an “X” at the bottom of each “bell”.

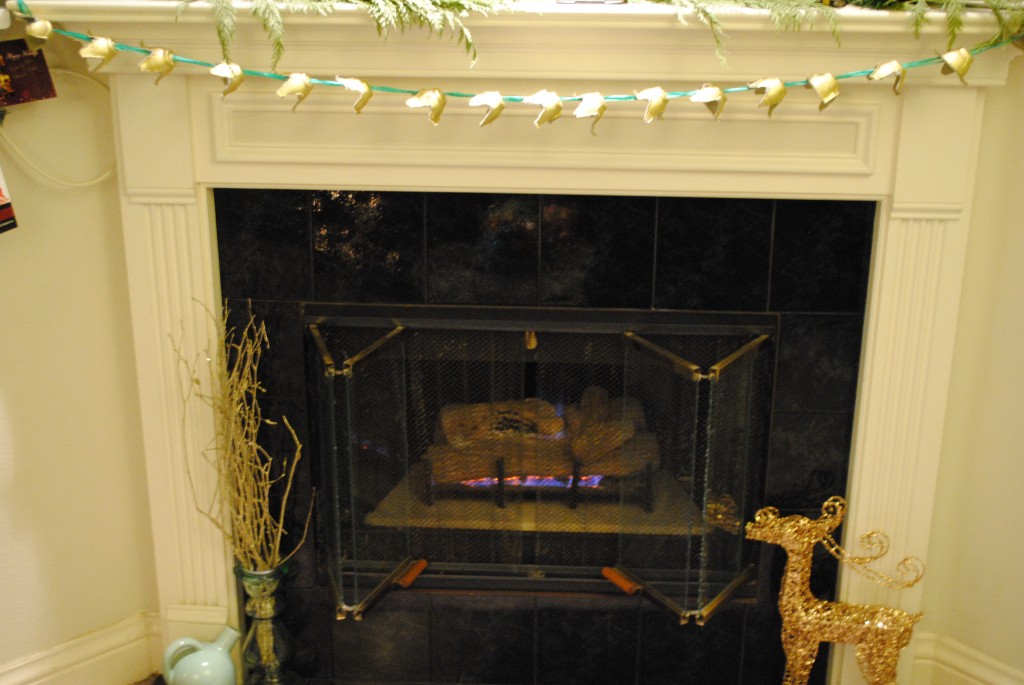
6. String the bells on to your garland! Hang and enjoy!

Other uses:
Wedding/holiday party photobooth backdrop (hang multiple strings next to each other)
Christmas tree garland
Ceremony backdrop


{the inspired room}

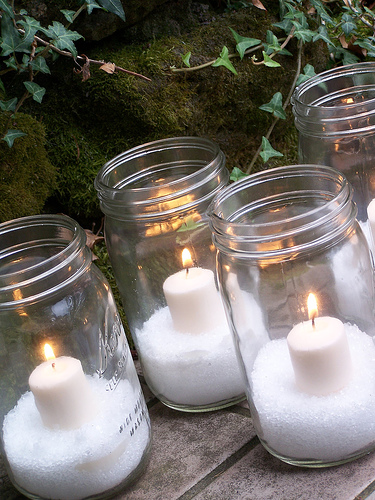
Want to have “snowy” mason candles but don’t have snow? Use epson salt instead! Genius idea, thanks to The Inspired Room!

Today’s DIY video is a fun one: embossing! I used this simple trick for our own wedding menus, along with some special menus I crafted for Steph & Mel’s weddings too. It’s super easy to do, and definitely a fun project for those who like to DIY. You can bet I’ll be embossing some holiday cards this year!

Thanks to Steph & Robin Killip ofBubblerock Studios for filming and pulling this video together for me! To see more DIY videos, click here.


{personal photo}

If your handwriting is anything like mine, there’s no chance you’d even consider hand-writing your place cards {or any other paper aspect for your event}. But with this fun and easy tip {spotted last year in the Weddingbee forums}, you can easily fool your guests in to thinking you have a knack for gorgeous calligraphy. That is, of course, if you don’t post an image like this to your Facebook page, and have guests over later that day who happen to see that very same image :)

How to DIY: The trick is to use a very light colored font before printing, then just use your pen of choice and trace the letters. For my Thanksgiving place cards above, I chose a heavy kraft paper card stock with Nelly Script Flourish as my font, and I then used a white gel pen to trace. I was going to use a metallic silver pen, but couldn’t find it on time.

Other ideas: use a larger font size and create a menu board for your wedding or Bride & Groom, Mr. & Mrs., Mr. & Mr., etc. signage, use a fine-tipped glue pen and dust with glitter for metallic place cards (I’m totally doing this for an upcoming project), or use black paper with a white pen to achieve a “chalkboard” look.

Easy, fun, and best of all: inexpensive. While nothing will replace the value of hand calligraphy that a talented calligrapher can do for your paper design, this is a great option for smaller scale events where the cost/time of a professional calligrapher just isn’t in the cards.

How crafty are these DIY jack-o-lantern masons by Momtastic! Click here for the full DIY in its glory :)

Happy Sunday!


{Will Keeler}

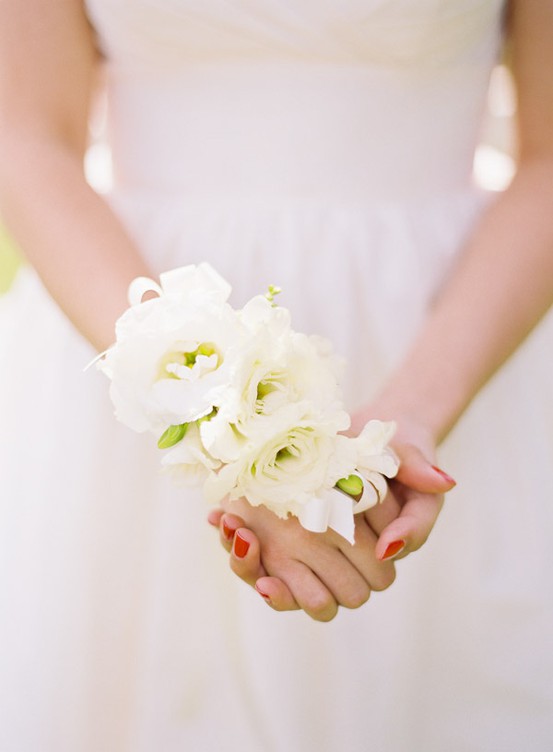
Gone are the days of awkward prom photos and plastic boxes containing your red rose wrist corsage. Flower wristlets are making a gorgeous comeback these days and this girl is loving it. I love the idea of doing something different with blooms on your big day - why not give your bridesmaids pretty wristlets to wear instead of carrying bouquets? You know the bouquets end up sitting on the table at the reception anyways - with the wristlet, the flowers can be enjoyed all evening!


{ruffled}

The lovely (and super talented) Sarah True of True Event put together a DIY video for making your own wristlet - have a look!

So what do you think? Yay or nay to the modern take on the old school wrist corsage?


{personal photo}

Happy Monday everyone! Hope you all had a great weekend and are ready and refreshed to take on the week. I sure am!

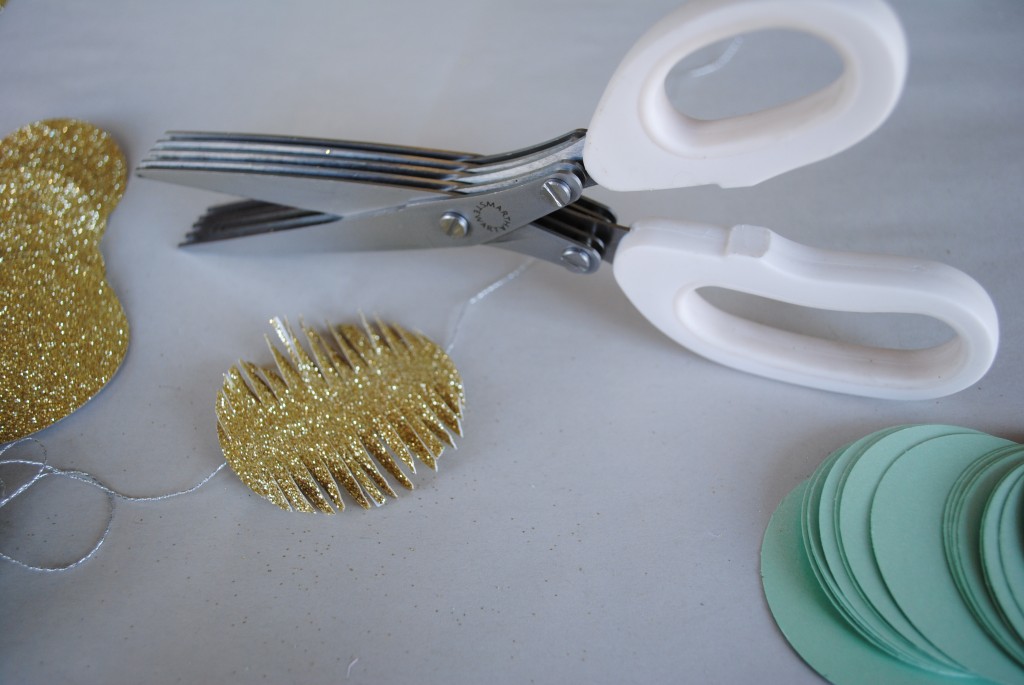
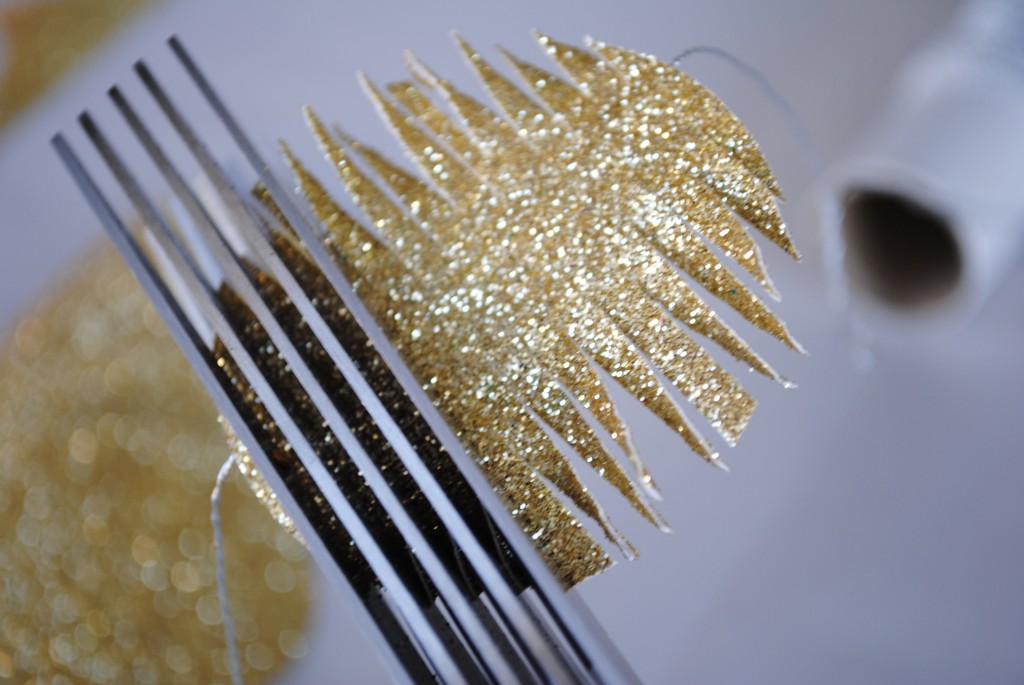
Some of you may have seen me gushing over my latest crafting obsession on Facebook, but I thought these fringe scissors really deserved more of an introduction than that! Created by the crafting geniuses over at Martha Stewart, these little time savers cost between $10-14 (depending on where you purchase them - I got mine at Paper Source but found them online as well) and are super easy and versatile to bring just that little bit of texture to your projects.

I used them recently for a fun little DIY garland I was working on (more to come soon, all pictures taken with my camera)…

…and I also used these to create some lovely dessert table display signs for Mark & Sarah’s Maine wedding last month (tons more details to come from that, too!)

Basically, these scissors have 10 blades vs. 2, so they make your fringe-ing go that much faster! Imagine creating your pinatas, signage, streamers and more, in a fraction of the time, and with consistent/even space between each cut - consider me hooked! What do you think? Anyone use them lately for something fun? Fill a sister in!

Happy Tuesday everyone! So today I have a video DIY for you, that the amazing Steph & Robin Killip of Bubblerock Studios shot for me while they were out here in SF. And don’t you worry, there’s plenty more in store where this came from - but today we’re focusing on tissue paper pom poms!

Thank you Courtney for featuring this on Pizzazzerie yesterday!

Happy Wednesday, lovelies! How are we already halfway through the week? I’m loving how fast it’s flying by, but I have so much to do before hopping on a plane tomorrow, so I’m hoping today slows down just a bit.

Moving on… today is my second installment of Inspiration to Reality (read all about this new series here), so let’s get going!

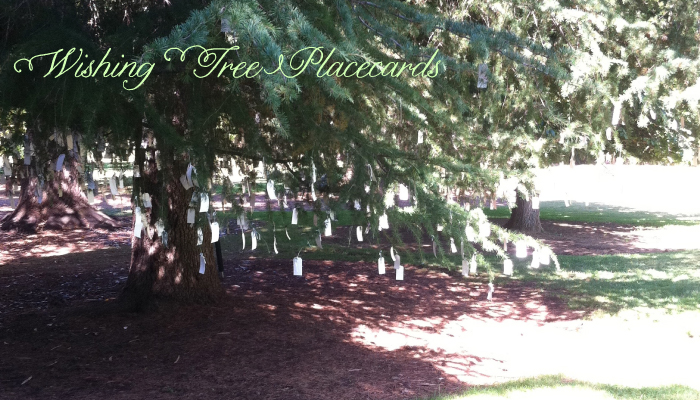
I had the pleasure of working a gorgeous wedding a few weeks back at the Montalvo Arts Center in Sarasota, California, and snapped an iPhone pic of the tree pictured above (in between directing guests to cocktail hour). It was a “wishing” tree, with a box supplying empty paper tags for you to write your wishes on and tie to the tree branches. I absolutely loved the idea, and of course, immediately thought, wouldn’t this be a unique way to display your escort/seating cards? Here’s how you can replicate the idea (super easy, too!)

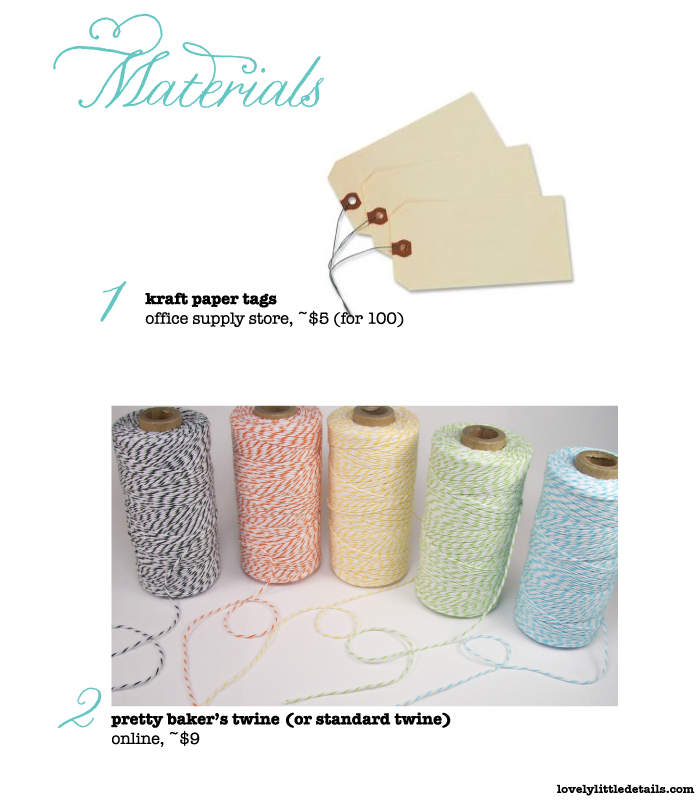
See what I mean? How easy is that? Just put in alphabetical order and tie from the tree branches, letting them sway lightly in the breeze. You don’t have to go crazy with colored baker’s twine*, simple string will do, but adding a pop of color could really add to the overall look! And just think - for a nautical-inspired wedding, you could use heavier rope, and tie with a sailors knot.

What do you think? Too rustic for you, or can you envision this as being a pretty way to house your escort cards?

*Need to know where to get inexpensive (like, seriously inexpensive) baker’s twine? Go here to find out!

© lovely little details

featured and seen in
   | Web hosting and development: The Hosting Guide